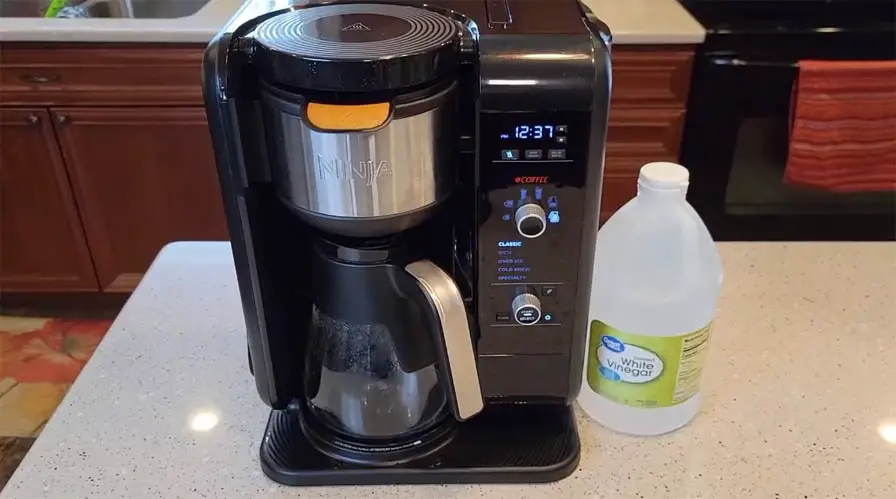
A perfectly brewed cup of coffee can be the ideal way to start your day, but over time, the residue and build-up that accumulate in your coffee maker can affect the taste and quality of your brew. If you own a Ninja Coffee Maker, ensuring its cleanliness is crucial to maintain its optimal performance and delivering a consistently delightful coffee experience.
Cleaning your Ninja Coffee Maker is a simple yet essential task that can keep your machine in pristine condition, enhance the flavor of your coffee, and extend its lifespan. In this guide, How to clean a Ninja coffee maker. We will take you through a step-by-step process to effectively clean your Ninja Coffee Maker, ensuring that each cup you brew is as satisfying as the first one.
Whether you’re a coffee aficionado or a casual coffee lover, learning the proper cleaning techniques for your Ninja Coffee Maker will help you maintain its functionality and ensure that every cup is brewed to perfection.
How Often to Clean a Ninja Coffee Maker
Cleaning your Ninja Coffee Maker regularly is essential to maintain its performance and prolong its lifespan. The frequency of cleaning depends on how frequently you use the machine and the quality of water in your area. As a general guideline, it is recommended to clean your Ninja Coffee Maker at least once a month, but if you use it daily or notice any signs of residue or build-up, more frequent cleaning may be necessary.
If your water source has high mineral content or you notice a decrease in the quality of your coffee, it is advisable to clean your coffee maker more often. Additionally, if you leave the coffee maker unused for an extended period, it is recommended to clean it before using it again to ensure the freshest and most flavorful brew.
Regular cleaning will help remove coffee oils, mineral deposits, and any other impurities that can accumulate over time. It not only enhances the taste of your coffee but also helps prevent clogs, blockages, and potential malfunctions in the machine. By establishing a cleaning routine, you can enjoy consistently excellent cups of coffee and prolong the life of your Ninja Coffee Maker.
How to clean a Ninja coffee maker – What You’ll Need
Equipment / Tools
- Sponge, dish wand, or bottle brush
- Sink or dishwasher
- Microfiber towel
Materials
- Distilled white vinegar
- Dishwashing liquid
- Dishwasher detergent
- Distilled water
Step 1: Prepare the Coffee Maker
Before starting the cleaning process, ensure that your Ninja Coffee Maker is unplugged and cool. Remove any remaining coffee grounds or filters, and empty the water reservoir.
Step 2: Clean the Removable Parts
Begin by cleaning the removable parts, such as the carafe, brew basket, and water reservoir. These components can usually be washed with mild dish soap and warm water. Use a soft cloth or sponge to scrub away any stains or residue. Rinse thoroughly and set them aside to dry.
Step 3: Descale with Vinegar
Descaling is crucial to remove mineral deposits and descale your coffee maker. Fill the water reservoir with a mixture of equal parts white vinegar and water. The amount of the mixture depends on the size of your coffee maker, but a 1:1 ratio is a good starting point.

Place an empty carafe on the warming plate and position the brew basket. Start the brewing cycle, allowing the vinegar-water solution to run through the machine. This process helps clean the internal components and remove any build-up.
Once the brewing cycle is complete, discard the vinegar-water mixture and rinse the carafe thoroughly. Refill the water reservoir with clean water and run another brewing cycle to flush out any remaining vinegar.
Step 4: Clean the Exterior
To clean the exterior of your Ninja Coffee Maker, use a damp cloth or sponge. Wipe down all surfaces, including the control panel, buttons, and casing. Be cautious not to let any water enter the electrical components. Dry the exterior thoroughly to prevent any moisture damage.
Step 5: Clean the Brew Basket and Filter
The brew basket and filter may require extra attention to ensure they are free from residue. Use a toothbrush or a soft-bristle brush to scrub away any remaining coffee oils or particles. Rinse them thoroughly to remove any loosened debris.
Step 6: Reassemble and Final Rinse
Once all the components are clean and dry, reassemble your Ninja Coffee Maker. Ensure that everything is properly aligned and securely in place. Fill the water reservoir with fresh water and run a brewing cycle without any coffee or vinegar to give it a final rinse.
Step 7: Regular Maintenance Tips
To keep your Ninja Coffee Maker in top condition, consider these maintenance tips:
- Clean the carafe, brew basket, and water reservoir after each use.
- Regularly descale your coffee maker using the vinegar-water solution, especially if you have hard water.
- Replace the paper filter or clean the reusable filter regularly.
- Wipe down the exterior of the machine to prevent dust and grime build-up.
By following these simple steps and incorporating regular cleaning into your coffee-making routine, you can ensure that your Ninja Coffee Maker consistently delivers delicious cups of coffee. A clean machine not only enhances the flavor of your brew but also prolongs the lifespan of your coffee maker, allowing you to enjoy excellent coffee for years to come.
Conclusion
Cleaning your Ninja Coffee Maker is an essential task that should not be overlooked if you want to enjoy consistently delicious cups of coffee. By following the step-by-step guide outlined in this article, you can effectively clean your coffee maker and keep it in optimal condition.
Regular cleaning helps remove residue, mineral deposits, and coffee oils that can affect the taste and performance of your machine. It also prevents clogs, blockages, and potential malfunctions, ensuring a long lifespan for your Ninja Coffee Maker.
